(09/02/2025)
There was a post I made about bringing a Trinus 3D printer back to life.
The rigid assembly of this little 3D printer really stands out. Aligned to this, the 3D print quality was reflective of the era it came from. So, we have an X, Y, Z axis that is rigid, right? And we have an NC controller running Marlin firmware. Why not make this into a machine that can 3D print, engrave, and cut materials?

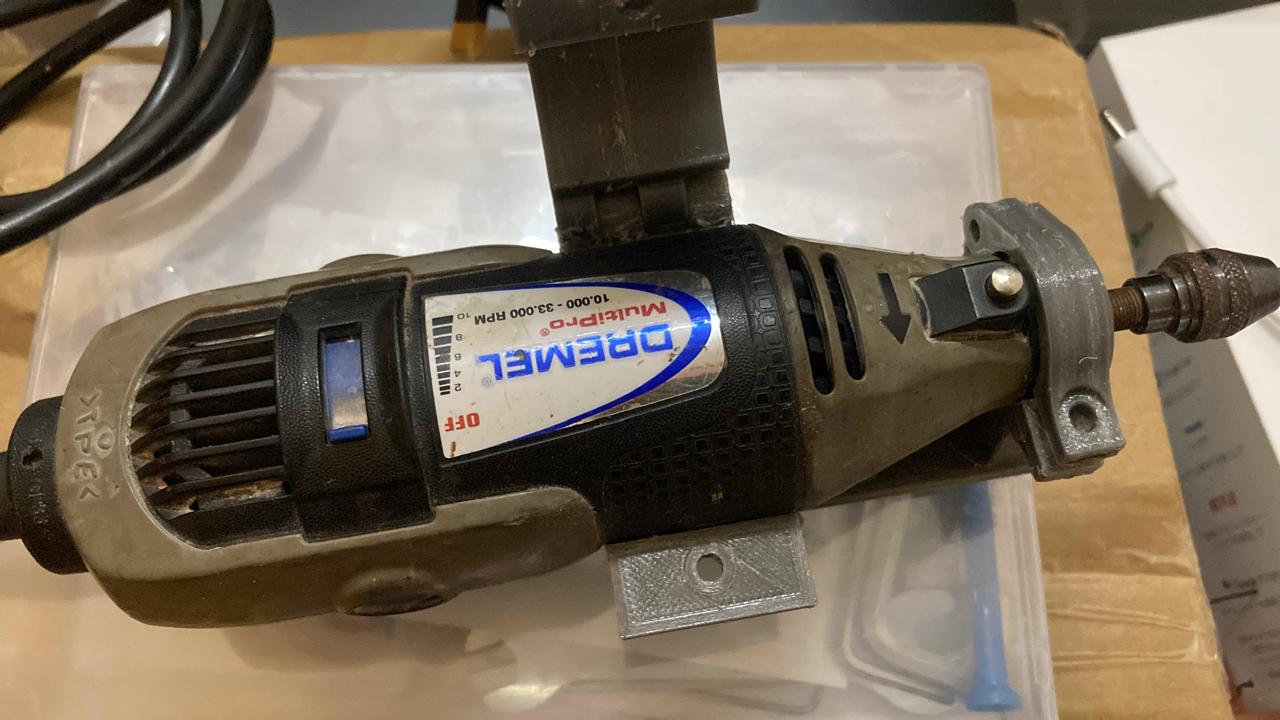
The next question of course is: spindle? What spindle. The quickest and easiest way is potentially using a handheld Dremel that is lying around. With a max RPM of around 30 000 RPM and a chuck that can accommodate a 3mm cutting bit that seems like a good fit.
This bracket is available https://www.thingiverse.com/thing:1761641 and looks quite nice but I couldn’t seem to get a great print result with it. Added to this how would it mount accurately to the 3D print head mounting points?
So over to the CAD package we go then…
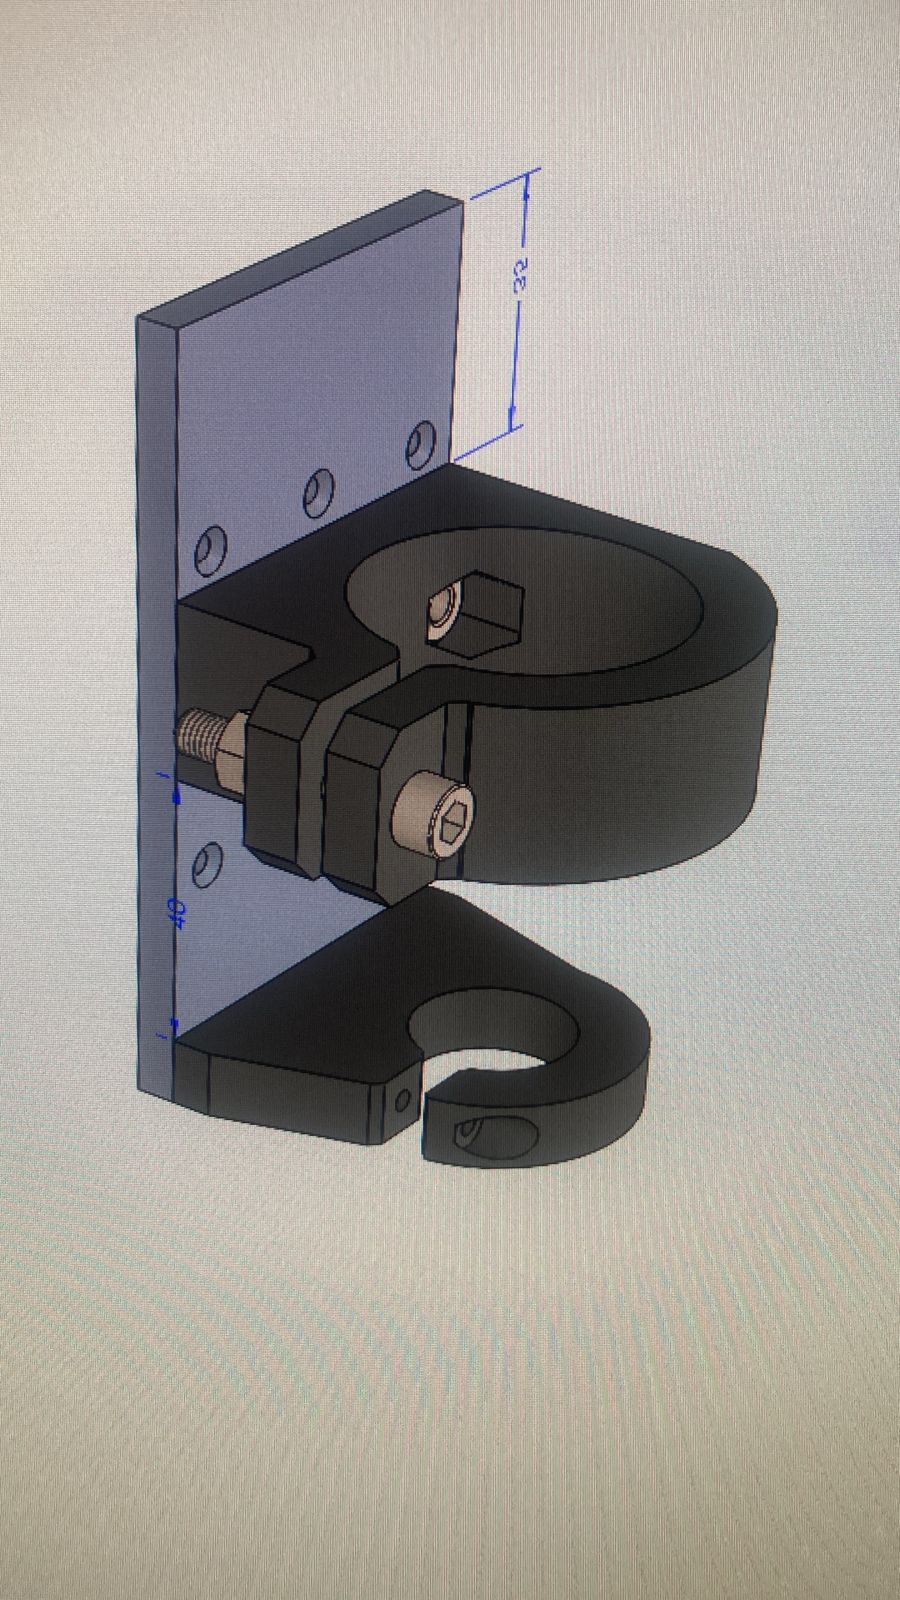
The above design is all based on sections that can be 3D printed and assembled using M3 and M6 bolts nuts and washers. Aligned to this the backing plate can be machined out of 6mm Alu if we need more rigidity.
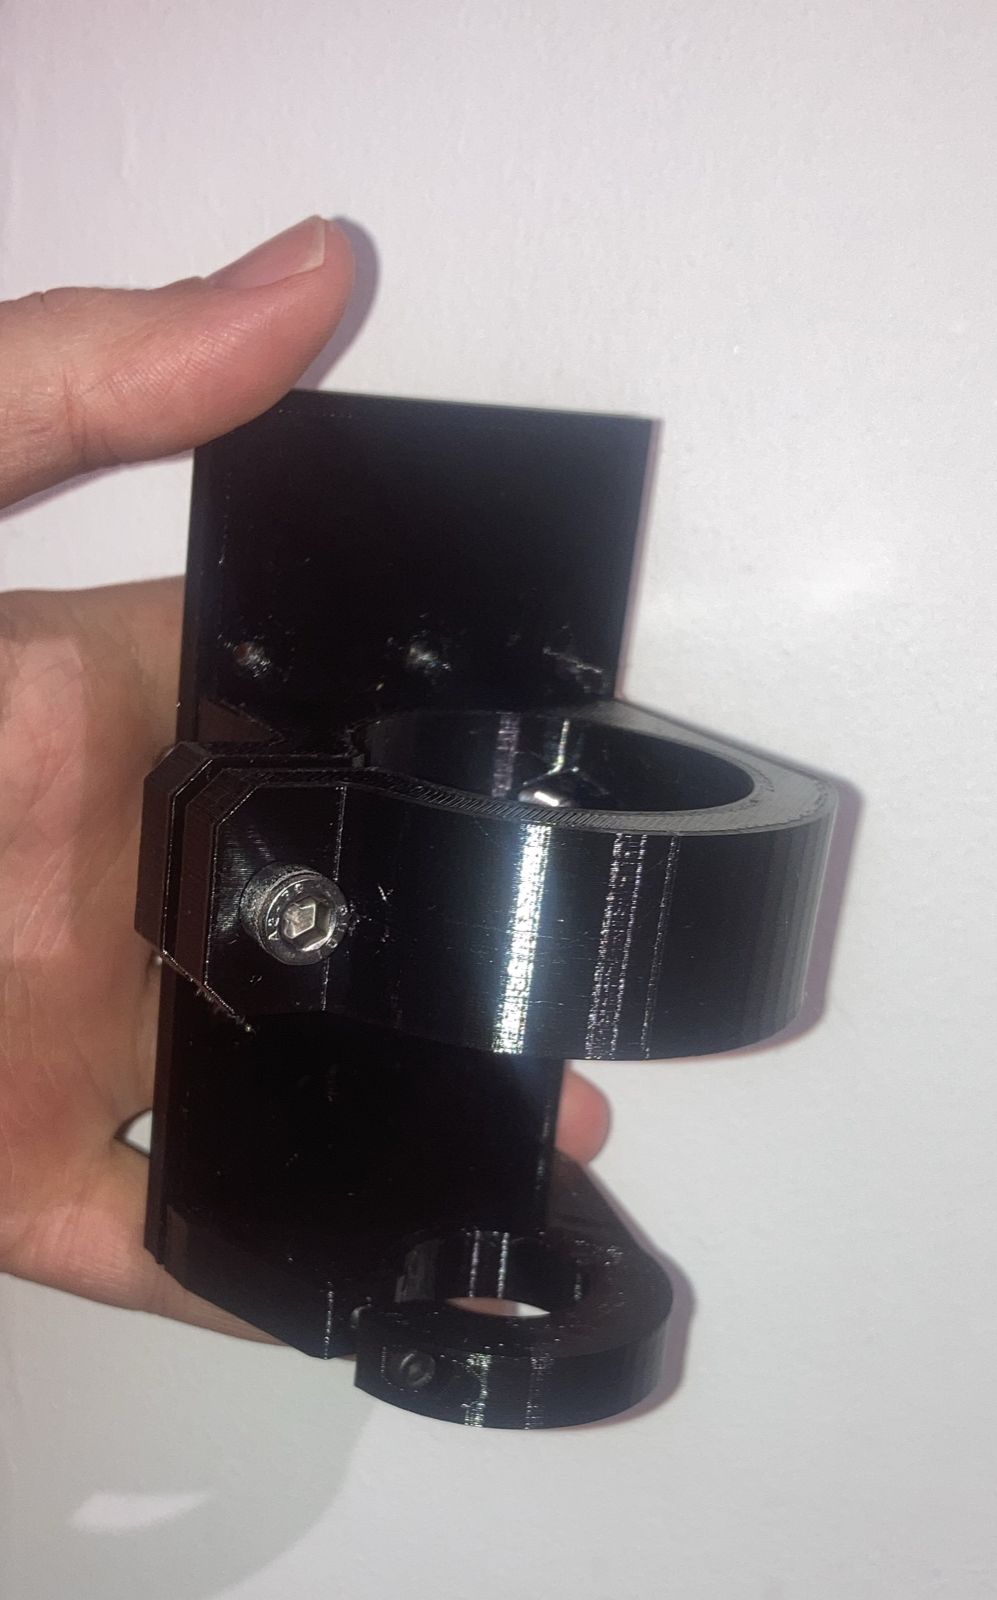
So then its over to the 3D printer to print the parts out of PETG…
It’s important to note this was printed in 3 sections and then assembled.
With the spindle bracket fully assembled and the Dremel set up and a new bed and “soft bed” installed (more on this to follow) the next challenge we face is how to ‘drip feed’ G-code to Marlin.
Below is a Python app written to drip feed the G-code to the 3D Printers controller running Marlin.

If you noticed the Set Z0 button you will likely have wondered how we are going to “home” the Z axis now that we are a CNC engraver not a 3D printer.
So there is this magic trick I saw once to home a Z axis and it goes something like this…
In the video above you will see signs of some swarf which is what machines are famous for making instead of parts at times. As mentioned above there is a new table installed with a “soft bed” and there is also the give away there of the Hello World test pocketing down a profile from a CAM package. What is really needed next potentially is a stylish brass section machined to a high tolerance with a banana clip for the homing. Of course to test this I didn’t use my finest milling or engraving cutter!
Leave a Reply